10/17/05, 10/19/05, 10/22/05
Total engine rebuild less crank rebuild - lower end build. Go here to see upper end build.
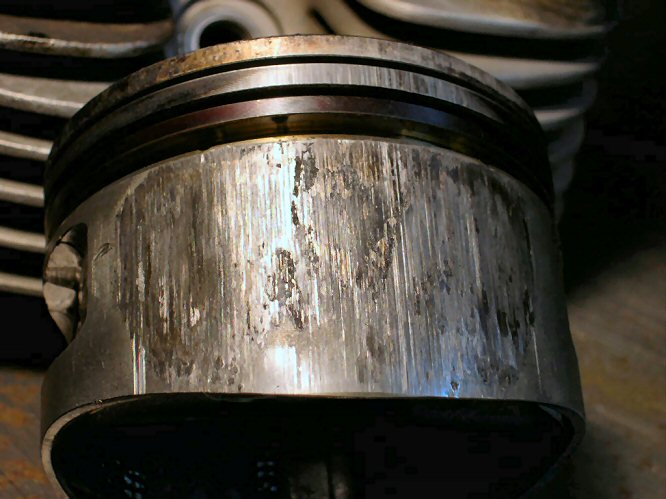
Background: I started hearing a knocking noise from my motor a few weeks ago after a high-speed run up to Albany. This motor was my first ever complete lower build so I wanted to get to the problem fast. I had already had about 15000 trouble-free miles since I built the crank. I found that the rear piston had started to overheat and seize in the bore at some point. It turns out that the timing weights had started to rub the post boss inside the timing cover, affecting the timing. Since I already had the motor largely disassembled, I decided to go all the way and take some measurements and inspect everything to make sure everything was wearing (or not wearing) as it should. Everything checked out pretty much as I had built it.
Problems: There were a few problems I wanted to address during the build. As I make incremental changes to this motor and put alot of miles on it, I learn what works and what doesn't. I keep notes and measurements on what I do each time so I can see the changes (if any) later. The issues I wanted to address on this build were:
- Improve crank case breathing - the motor was prone to weeping around all oil points and flanges. On the first build I timed and modified the breather opening to maximum timing to no avail.
- More clearance for timing weights - the weights that caused this motor to fail were hardly worn. There was very little clearance in the timing cover.
- Repair stripped case threads - these are replacement cases from HD which are evo castings machined to shovel specs. When I followed the shovel torque specs the first time, I stripped some threads. These cases have three blind hole case bolts, where the previous cases were all through-bolts except for one.
- Repair leaking sprocket seal - the pressure buildup in the cases had dislodged the oil seal. Additionally, there was some leaking between the sprocket shaft and the seal spacer.
Approach: Get busy immediately! I sent the cylinders off to Broadway Choppers in Albany for a bore job and new pistons. I promised myself during the last top end job that I WOULD NEVER do my own cylinders again. I have a hand operated Sunnen hone with a honing oil recirc barrel but it's still a pain in the ass to remove .010. I enlisted my buddy Jeffro, who has helped in the shop in the past, to assist with the build since he's never done a lower end before. I wanted to pass on what I know about it as a mentor was kind enough to show me in the past. Plus, it always helps to have two opinions and Jeffro has offered some great insights on other occasions. He has a sharp eye for detail. I'm hoping there'll still be a couple nice riding days left this fall. We finished it up on Saturday night after a ten hour day then went out and got rip-roaring drunk. Here are some pics and notes. Enjoy.
Jason
Notes:
- Experimented with Timken bearings spacers in left case until ~.002 play achieved
- Crank has .0002 sprocket shaft runout, .0018 pinion shaft runout. Decided to leave it although not ideal
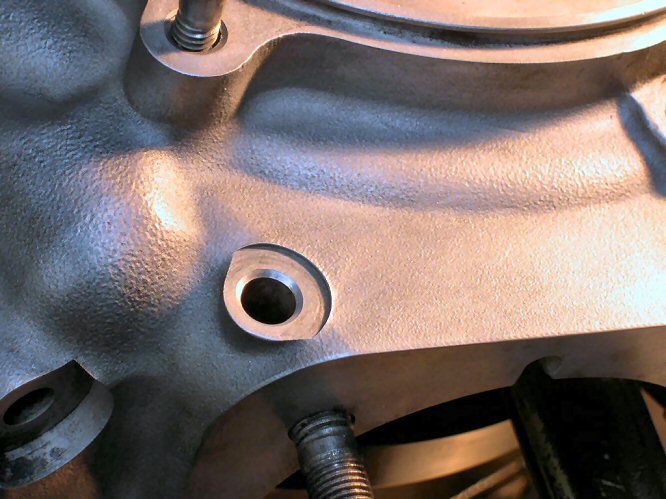
- Countersunk case bolt holes for installation of sealing o-rings where spigot bore allowed oil access
- Repaired stripped rear cylinder blind case bolt threads
- Wrapped worn stator wire with electrician's rubber tape
- Cut bevel on sprocket seal spacer and installed o-ring between bearing and spacer to prevent oil leaks
- Set cam end-play at .003 loose
- Set breather end play so movement is just detectable
- Removed breather screen and installed snake-oil breather ramp as an experiment
- Retained existing cam bearing and timing cover bushes as engine has low mileage
- Proper con rod alignment confirmed with precision ground check pin
- S&S pump model is '81 - '92 style. Used paper gaskets with copper tack. Torqued to 90in/lbs
- Left '73-up stock oil pump gears in use
- Kept V-Thunder 404 cam
- Timing case post bosses ground down to allow more clearance for timing weights
- New Rivera stainless timing weight kit installed
- New cam oil seal installed
- Sprocket seal spacer inspected and polished. New seal installed, spring inwards for belt drive application
- Rotor spacing confirmed to that magnets are centered over stator and edge doesn't rub stator wires
- Loctite 518 used on case halves
- Through-case bolts torqued to 22ft/lbs. Blind case bolts torqued to 13ft/lbs
- Timing cover screws torqued to 120in/lbs
- Sprocket bearing race spacer had shifted. Realigned to that gap is under oil feed hole
- Sprocket bearing races bottomed on spacer with bearing installers bolted together through case
Pics:
Rear cylinder was scuffed and had aluminum deposited on it from overheating

Rear piston was pretty trashed
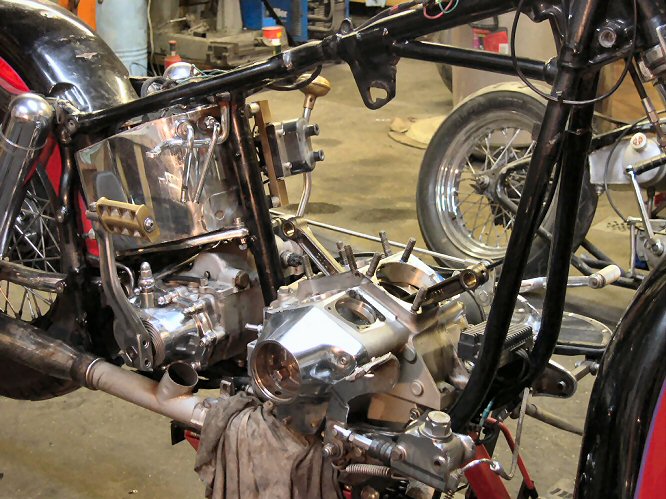
Top end removed
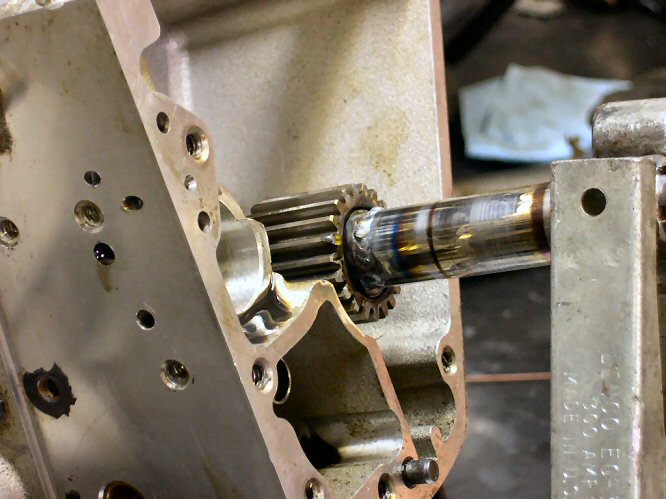
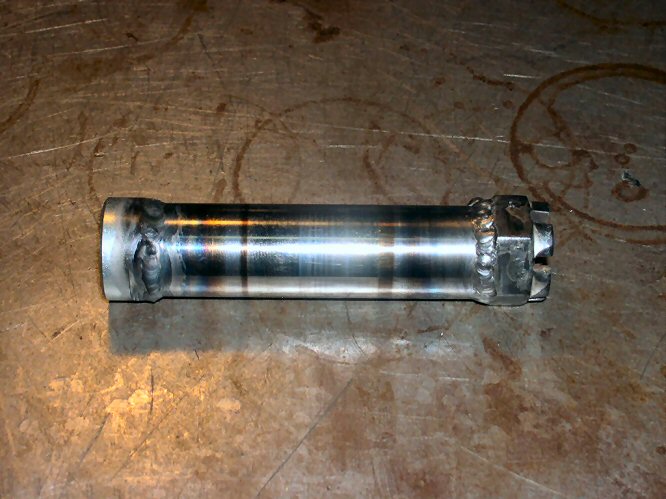
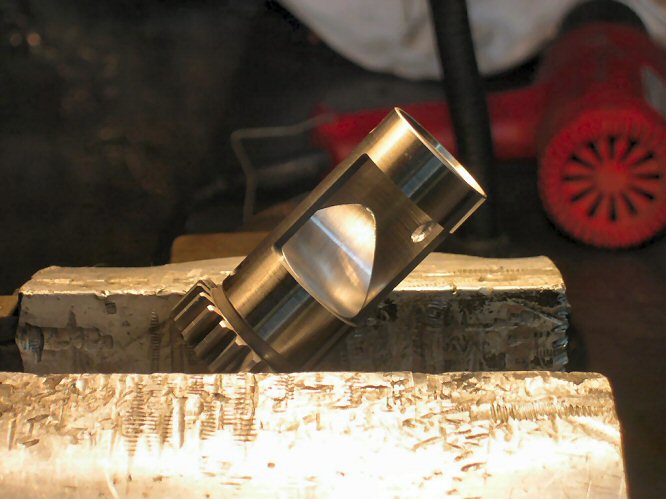
Pinion nut rounded off even though I used JIMS tool. Created a sleeve from the wrist pin and TIG welded the pin to the pinion nut. Welded a nut to the other end of the wrist pin. Came right off.
Countersink the case bolt holes for sealing o-ring installation on bolts. Set up so they're mildly compressed without interfering with case bolt torque.
Crank installed back in left case after bearing spacing completed
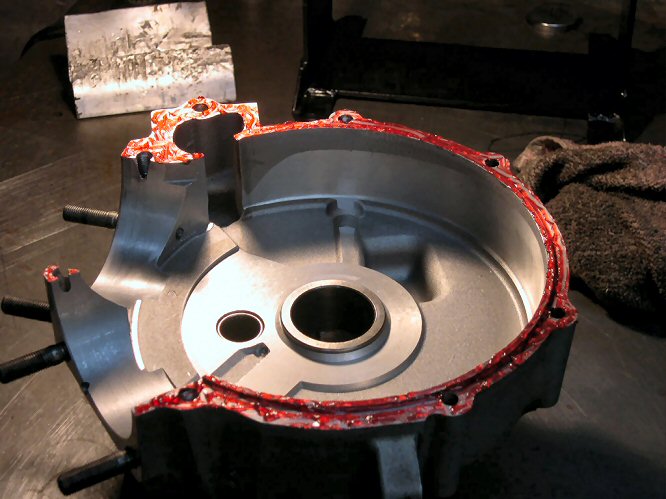
Sealer added to right case before installation
Cases put back together and bolts torqued
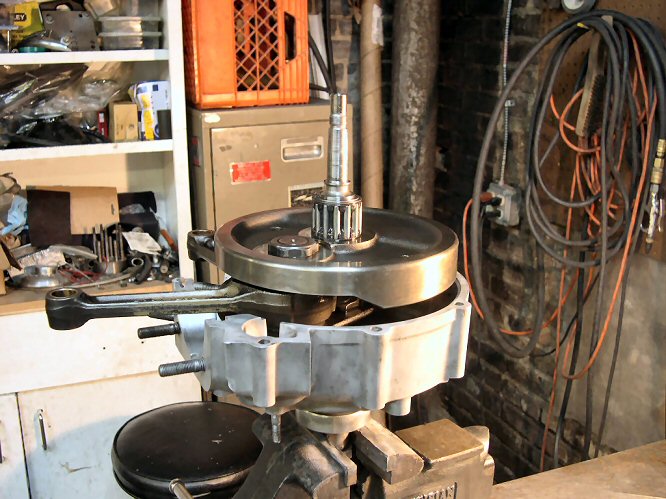
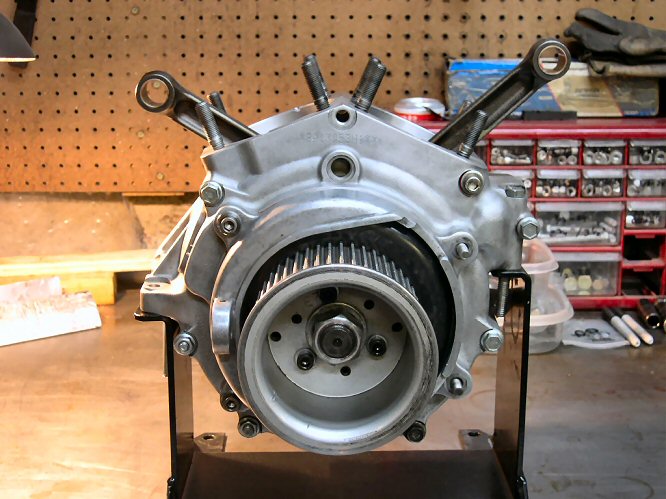
Sprocket side done after installation of sprocket shaft seal, spacer, stator, rotor, pulley
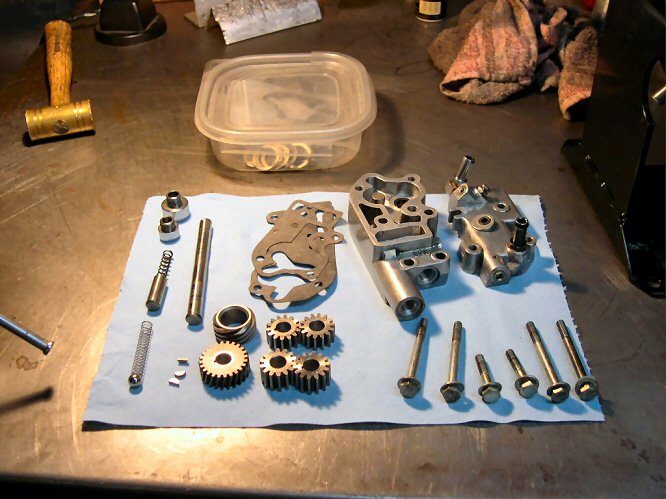
Oil pump parts prepped and ready for installation
Pump half-way installed
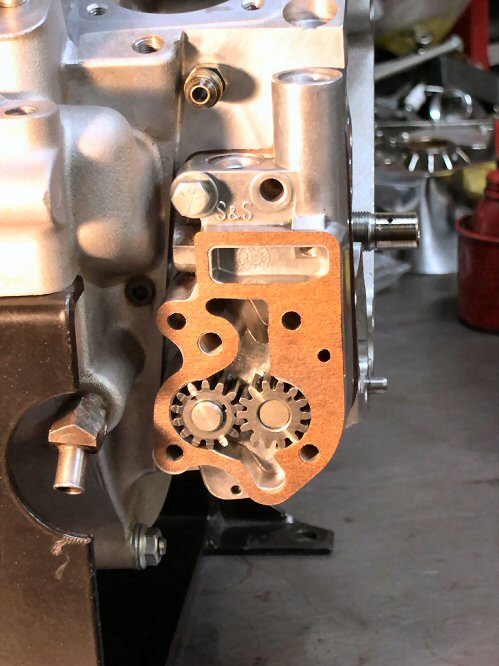
Oil pump installed, torqued, and checked for free rotation
Breather with screen removed and magical mystery over-priced ramp apparatus installed. We'll see if there are any improvements to case breathing.
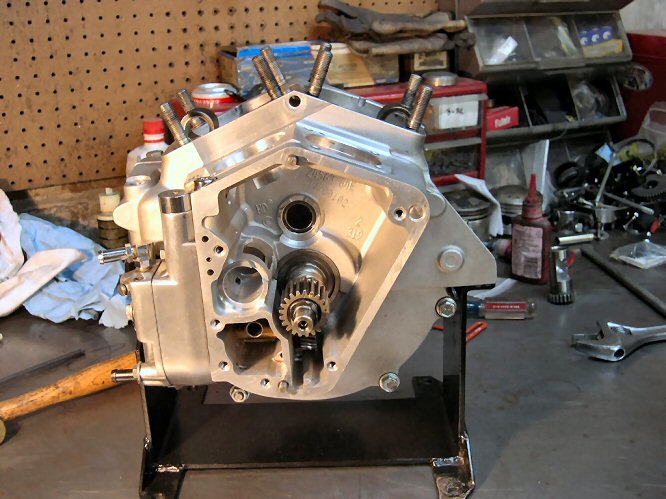
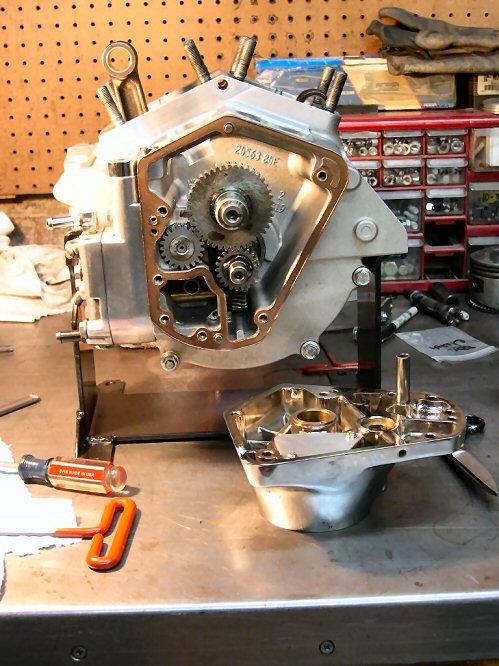
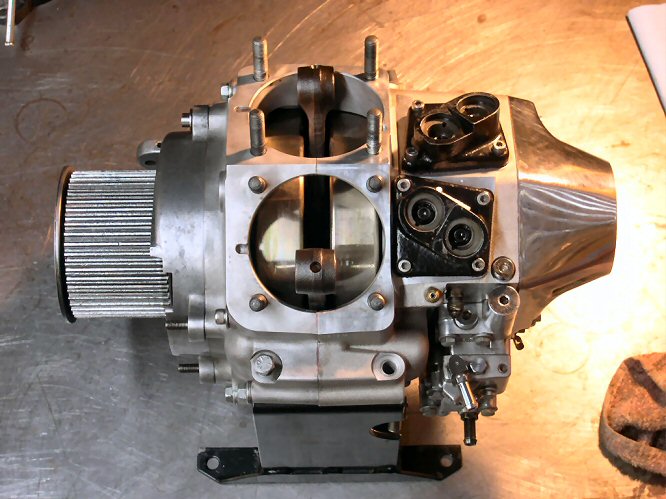
Timing case ready for closing after breather gear and cam end play set
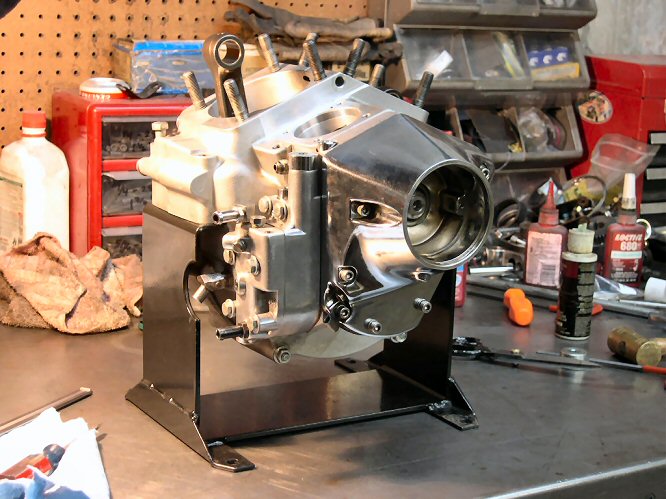
Timing cover installed and torqued
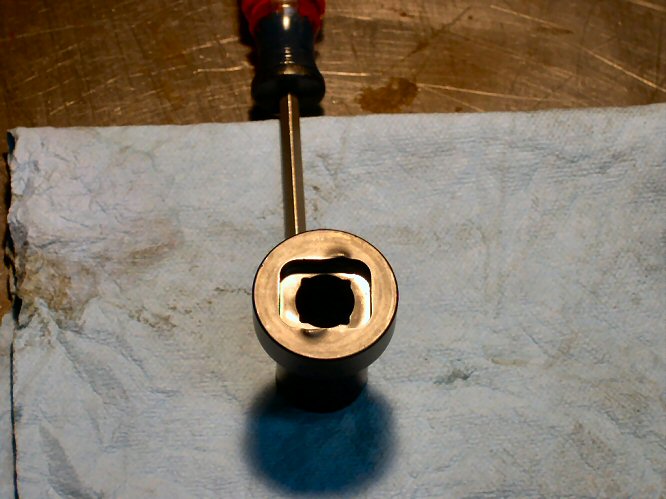
You know this $60 fucking JIMS pinion nut tool really sucks. It's a crappy fit on the nut and seems to be some pretty soft metal. Wish I had a Rockwell tester.
Tappet blocks and lifters installed
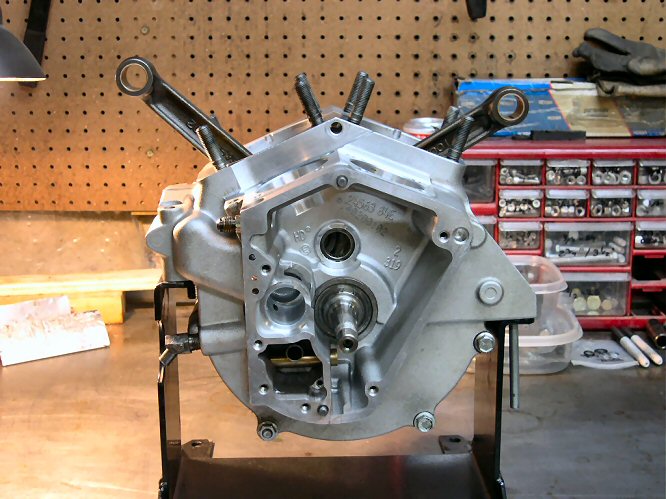
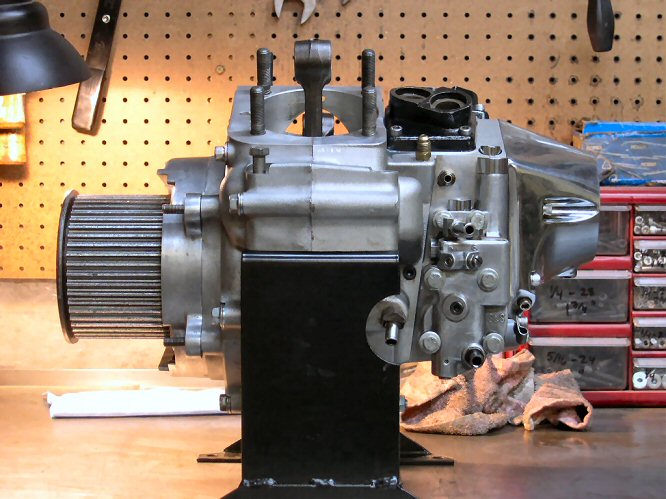
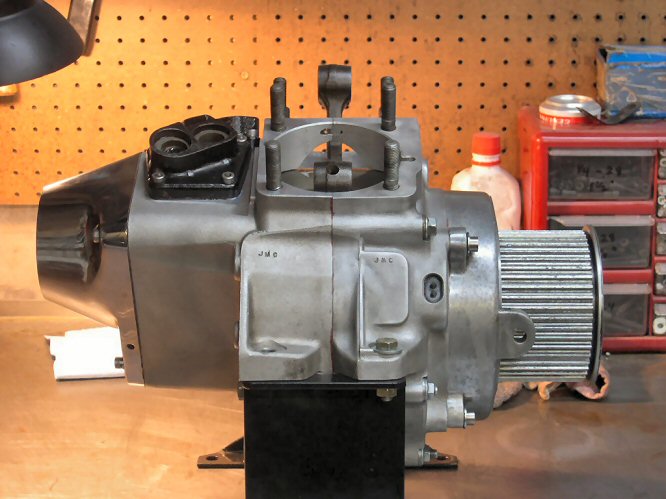
Lower end done
HOME
More tech articles @ www.greasygringo.com
lay=Counter|ft=0|md=5|dd=B">