10/26/05, 10/31/05, 11/1/05, 11/2/05, 11/3/05, 11/4/05, 11/5/05
Total engine rebuild less crank rebuild - upper end and installation in frame
Background: This is a continuation of the lower end rebuild process posted a few weeks ago. Notes and pics below.
Problems: There were a few things that had been bugging me since the last build of this motor. I attempted to remedy them this time around. They are:
- Stop valve cover leaking - I have tried just about everything to get the damned valve covers to stop leaking over the years. I've tried all kinds of sealers and gaskets to no avail. I decided to install studs rather than use screws so that I could seal them in the head better and prevent loosening.
- Better base nuts - the special S&S big-bore base nuts that come with their stroker kits have been a pain in my ass since day one. As they fit so close to the cylinder wall, a boxed end crows foot would not fit around it. Additionally, as they were so tall, you couldn't get a ground down box wrench over the top as the lowest cylinder fins prevented it. Open end crows foot wrenches, regardless of maker, stretched and round the nuts. Fuck that - they've got to go
- Better oil lines - the braided stainless oil lines I used to run were eating holes in everything, leaking at the fittings, and were generally pretty tired. Additionally, I believe the relatively small I.D. was contributing to leaks at other areas of the motor due to over-restriction. I bought abrasion-resistant rubber lines, new brass fittings, and stainless hose clamps from an industrial supply.
Approach: Get busy. My deadline of 11/6 was fast approaching and my motor was still sitting up on the bench. No good. My buddies in Philly were starting to call and harass me daily to get it done in time. Jeffrey was unavailable for a few sessions so I brought in a willing, if green, new guy. I realized in Jeffrey's absence that we had grown to be quite a polished team in the shop from working so much together. I had been spoiled (and unaware of it) by always having been handed the correct wrench, the right parts, my preferred tools, etc. He did show up unannounced just in time to help me install the cylinders over the rings and torque the base nuts. Thanks. We finished it up on Saturday afternoon after a major marathon. Complications (some bike-related, some not) kept us from making Philly that night although I did meet my other goal of having a bike to ride all that Sunday, which was unseasonably warm t-shirt weather. Ahhhh. . .
Jason
Notes:
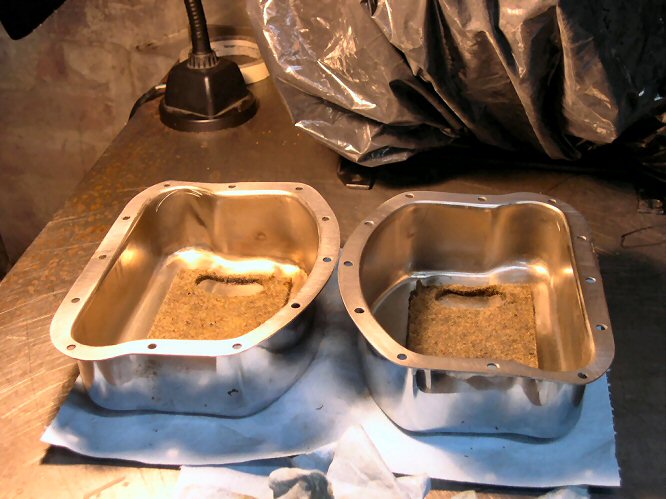
- Ground valve covers perfectly flat for improved sealing on the belt sander.
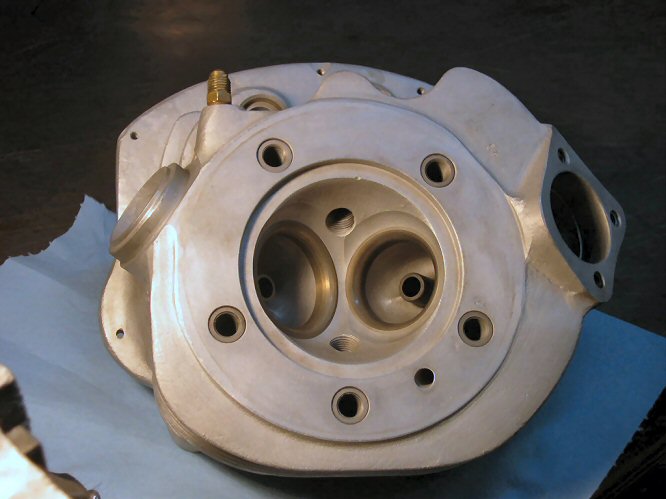
- Blasted heads with crushed walnut shells to remove all carbon deposits.
- Valve-to-guide fits were all well within spec. I had a valve job done by Dave Mackie only 15K miles ago. The heads have full-radius seats instead of a three or five angle cut requiring me to send them out.
- Valves and related parts all in excellent shape.
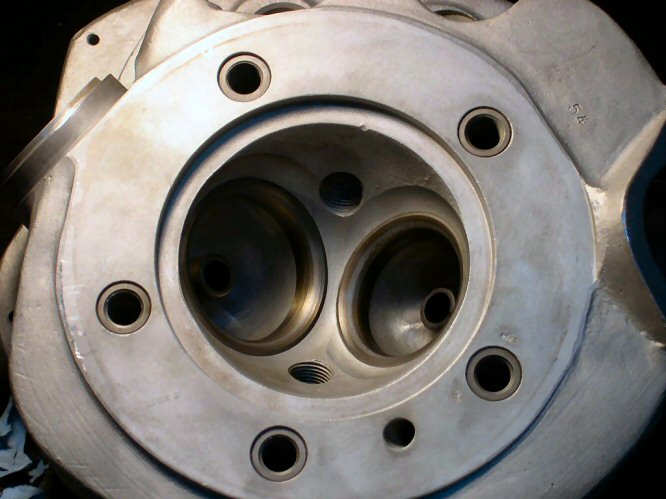
- Valves lightly lapped to seats.
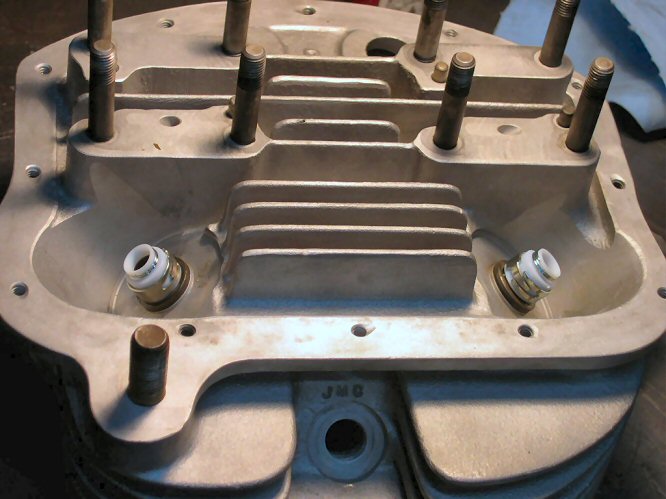
- New valve guide oil seals installed.
- Oil passage in heads, rocker blocks, and rocker arms all confirmed clear and clean before installation.
- Rocker arm pads (where they contact valve tip) show very little wear.
- New rocker block nuts (deformed thread variety) installed and torqued to spec.
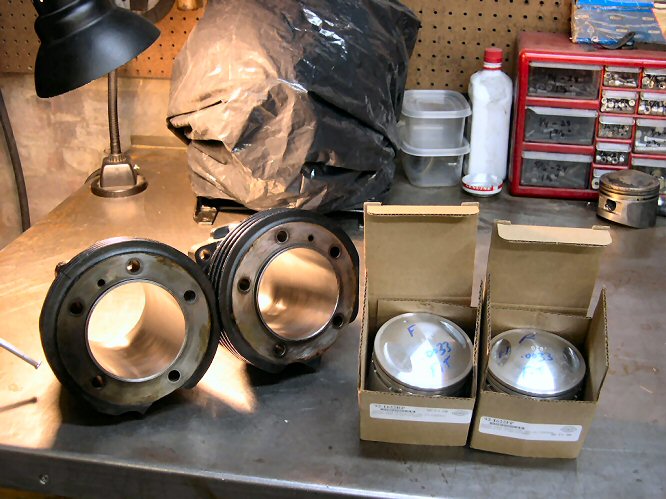
- Real machinists still exist! My cylinders and pistons arrived from Lee at Broadway Choppers on Wednesday afternoon. His cylinder boring guy read the piston fitting instructions, followed my request to fit them to the tigher end of the spectrum, and noted fits and dimensions on all parts. As I trust no one, I measured everything back in the shop and got the exact same dimensions reported.
- Pistons fitted to bores at .0033 loose.
- Bores had less than .0002 taper and out-of-round. Finish honed surface looked nice.
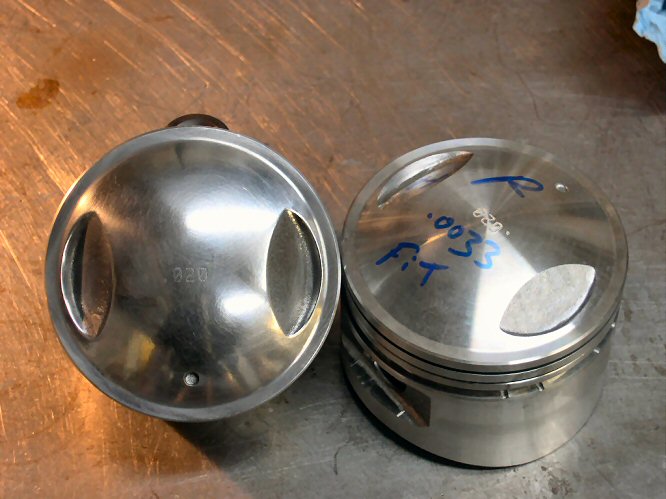
- Removed sharp edges on piston valve pockets to help prevent hot spots and pinging.
- Piston tops polished to discourage carbon buildup.
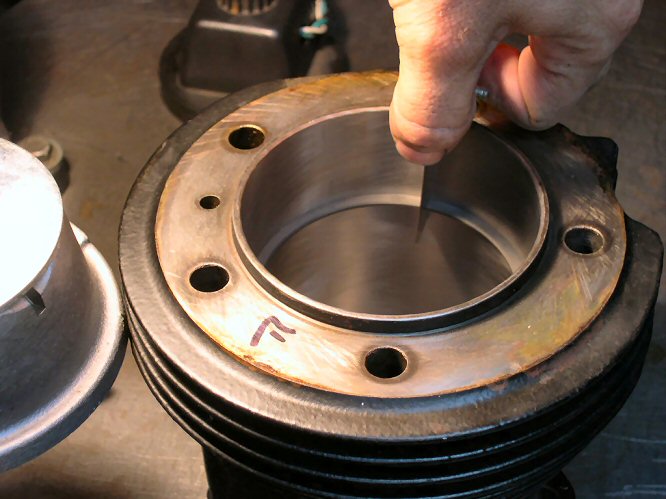
- All ring gaps confirmed between .018 and .022. Rings have reverse torsion ring (beveled) and torsion ring (beveled) on compression rings. Oil rings are three piece type with expander and two wipers.
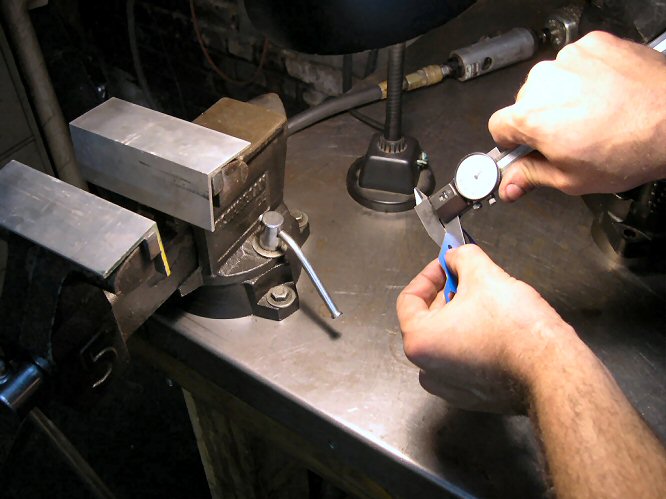
- Used .040 thick base gaskets. When I first built this motor I shortened the cylinders by approx. .050 to get a little more compression. Mock up showed not enough clearance between piston deck and head. Used .040 instead of .020 base gaskets to get required clearance. Not much net gain, but I learned a lesson or two about blueprinting a motor.
- Blue kevlar style base gasket squished out from under immediately on torquing base nuts. Won't use those again. Found a good set of coated steel gaskets in the parts stash to use.
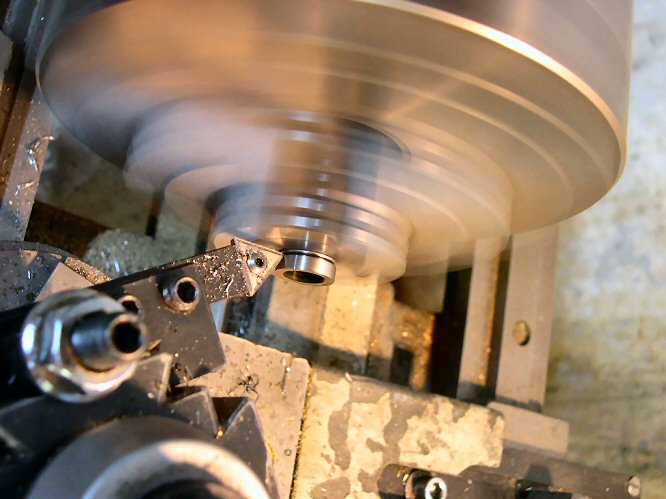
- Used 12-point high-strength 7/16NF base nuts from ARP. They let me order directly from them and the parts arrived three days later. The price was also good at $17 for a set of 10. Upon mockup, I found that the base diameter of the nuts was a little too big for the cylinders. I removed .070 from each nut on the lathe to get the required clearance.
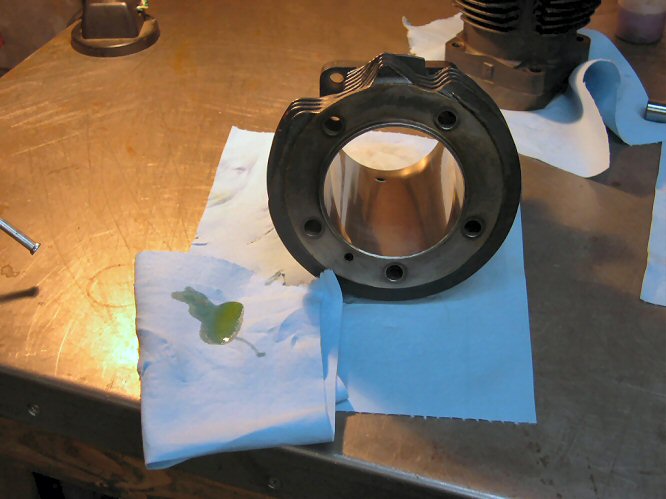
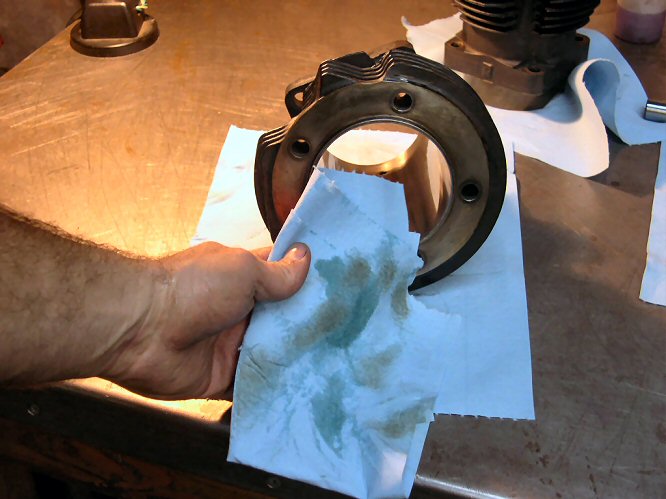
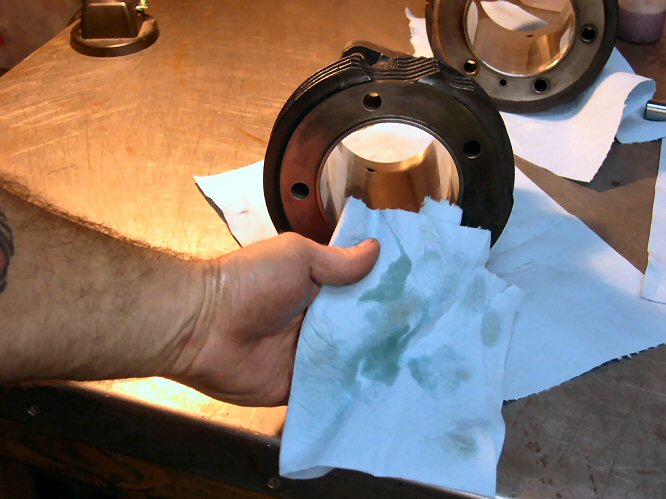
- Washed cylinders thoroughly in hot soapy water to remove any remaining abrasive. A round toilet brush is the best tool for this believe it or not. Wipe out bores with oiled towels until towels came out clean with no trace of discoloration.
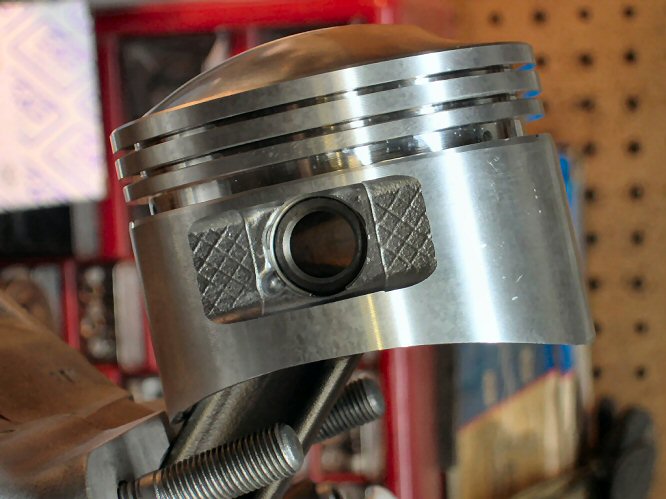
- Installed pistons on rods with assembly lube on pins. Round wire type clips were supplied with the S&S pistons.
- Installed rings on pistons with gaps arranged per S&S instructions.
- Used Threebond 1104 on base gaskets. I know it will be a real bitch to remove the cylinders in the future, but I'm tired of base gasket leaks.
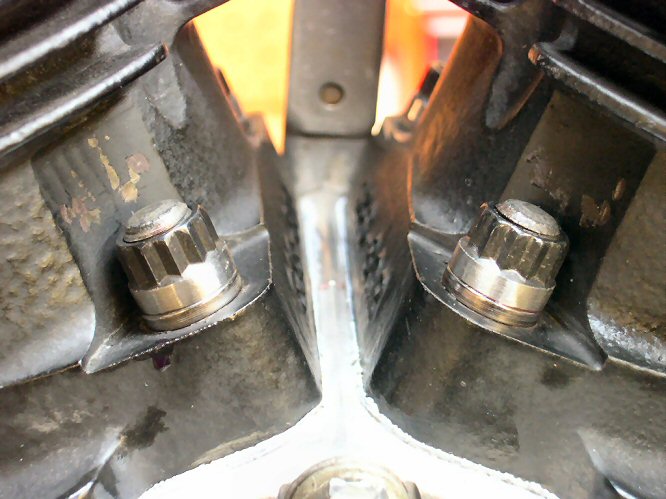
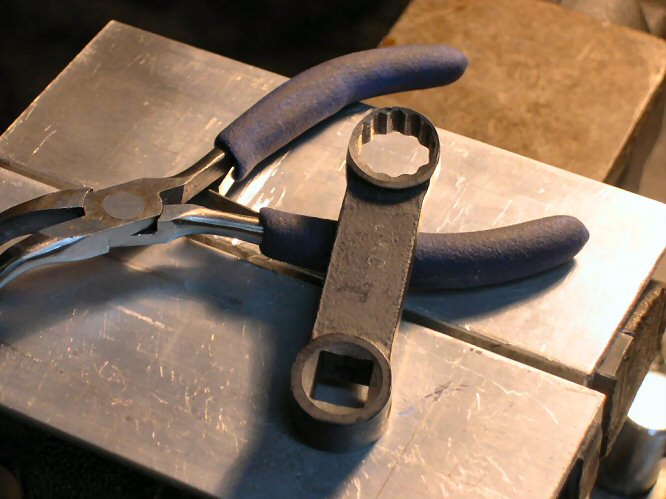
- Installed cylinders, base nuts, torqued to 40ft/lbs. I had to grind down a box end crow's foot to be able to fit the tool over the nuts with the close cylinder clearance.
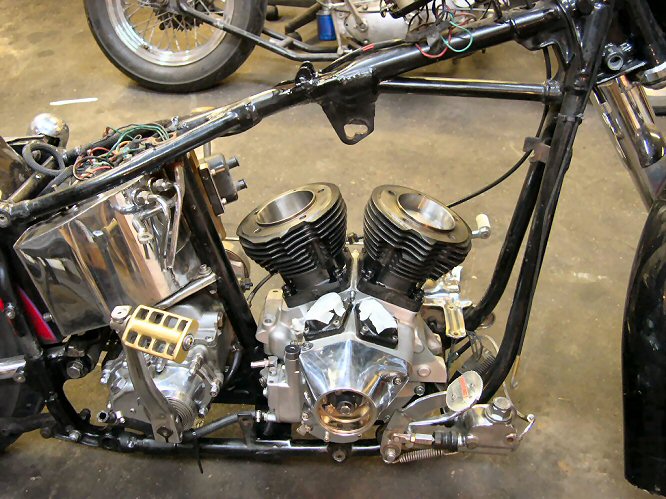
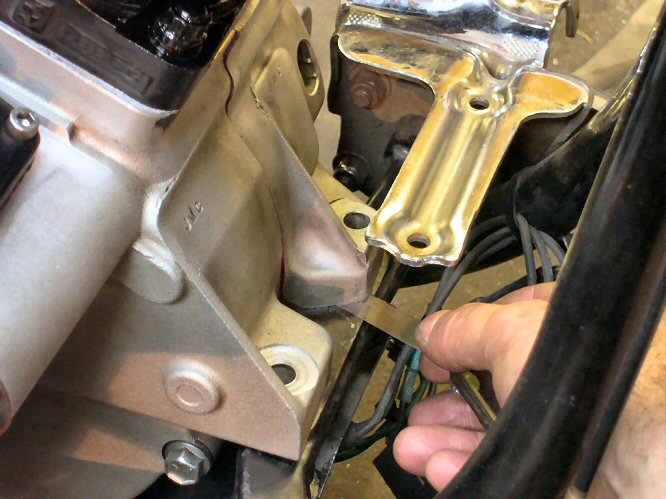
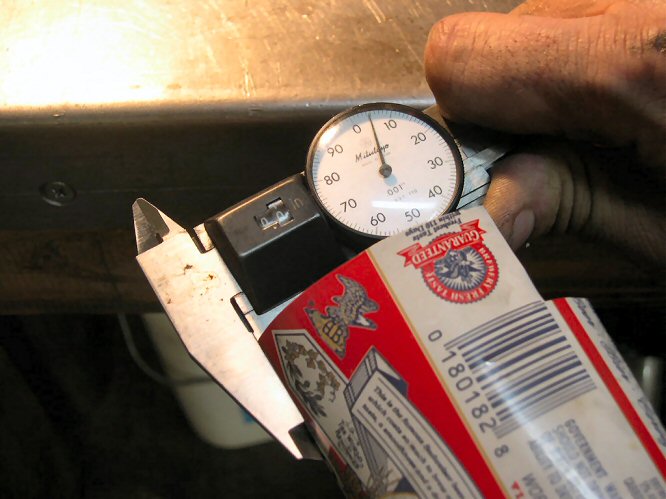
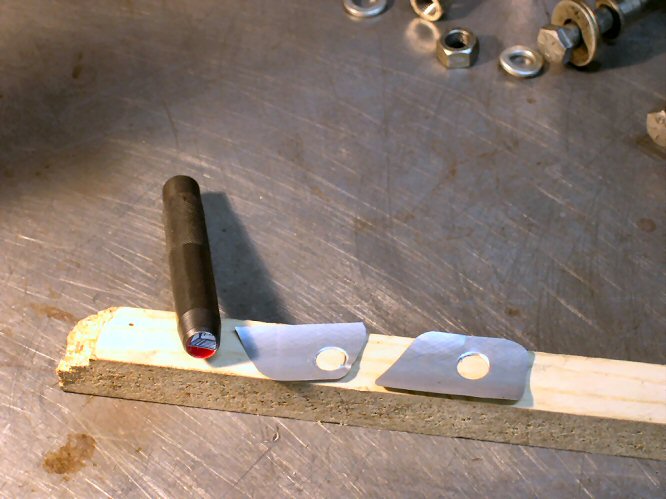
- Put lower end back in frame, torqued rear motor mounts to 35ft/lbs, used a feeler gauge to check front mount gap. Gap was .005. Made two shims out of very special shim stock that is exactly .005 thick. See pics below.
- Intalled motor mount hardware with new deformed thread grade 8 locknuts and washers. Torqued to 35ft/lbs.
- Installed motor plate (Fab Kevin) made of 1/8" steel between engine and transmission. I've broken the seat tube on this frame ('58 duoglide) four times now from torque. I would estimate that this motor puts out at least 80hp and alot of torque. . . certainly more than this frame was designed to handle. Since installing the plate, sleeving the seat tube, and gusseting the frame at various points on the drive side, I've avoided any further breaks.
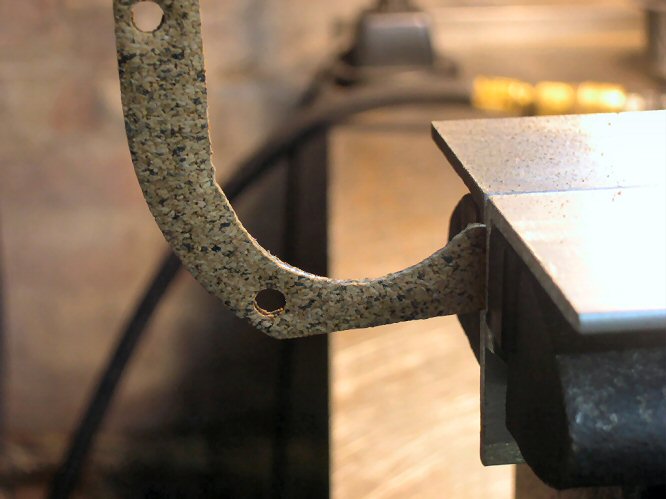
- I decided to use cork type valve cover gaskets this time in an effort to beat leaks. They needed to be clearanced a little for the valve collars.
- Rather than use screws, I installed studs in the valve cover gasket surface. This allowed me to seal the area better and should help prevent loosening. I bought two thicknesses of flat washers and some acorn nuts to finish the job. I put a light coat of copper gasket tack and torqued the nuts to 35in/lbs. I realize that the absolute torque is probably not that important so long as you don't deform the gasket, but believe the consistency is important for a leak-free seal.
- Annealed copper head gaskets and installed heads. Torqued head bolts, in sequence, to 35, 45, 55, then finally 65ft/lbs. Head bolts are CP twelve-point type.
- Primed head oil passages with motor oil and installed top-end feed lines. Case fitting to top-end feed is plugged and drilled to .060 to prevent over-oiling.
- Manifold installed with new rubber-band style seals and stainless aircraft clamps. Manifold was mocked up before tightening base nuts for correct alignnment. Manifold is supported from bracket off of center case bolt to prevent shifting and support carb.
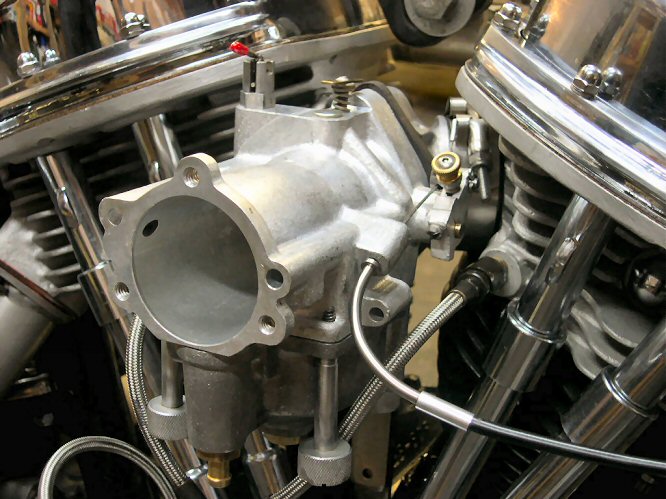
- Carb cleaned thoroughly in ultrasonic cleaner. Enrichener knob, idle speed screw, and float bowl screws are all shop-made. Used bicycle control cable parts (teflon lined) to make cable guides and elbows. Installed and set settings on carb.
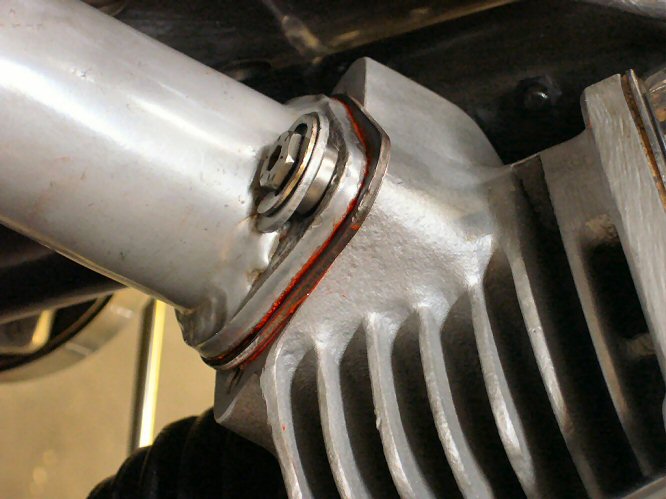
- Installed exhaust. Used high-temp RTV on gaskets for good seal. This is the ONLY place on a motorcycle where it OK to use RTV. Exhaust was HPC coated about six years ago. Best investment ever. They still look good and are rust-free after many repairs and high-miles.
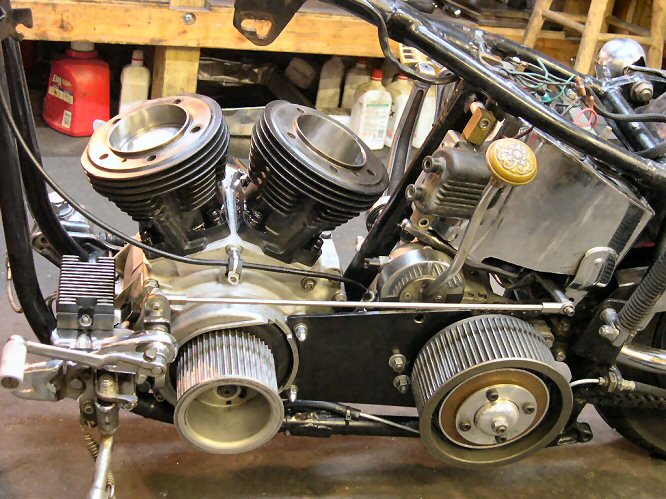
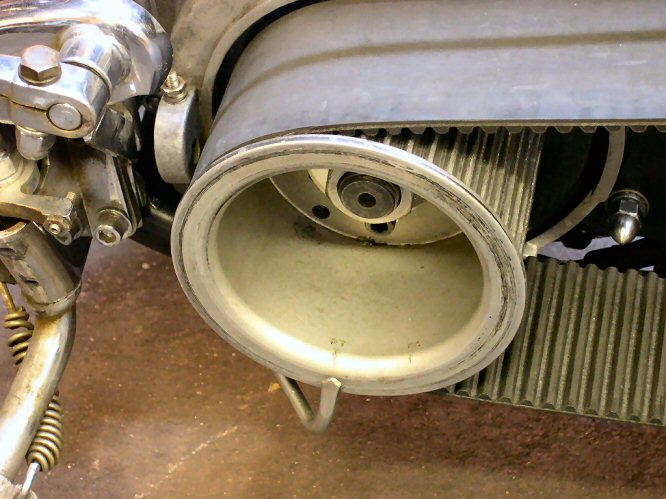
- Installed belt drive and engine pulley. Confirmed external timing pointer matches markes on pulley. Pointer is shop-made out of stainless and makes for quick and accurate timing without removing the timing plug. Belt drive is BDL. I've heard a lot of negative opinions on them. I've gotten a lot of miles (approx. 50k) from mine with few problems at a good price.
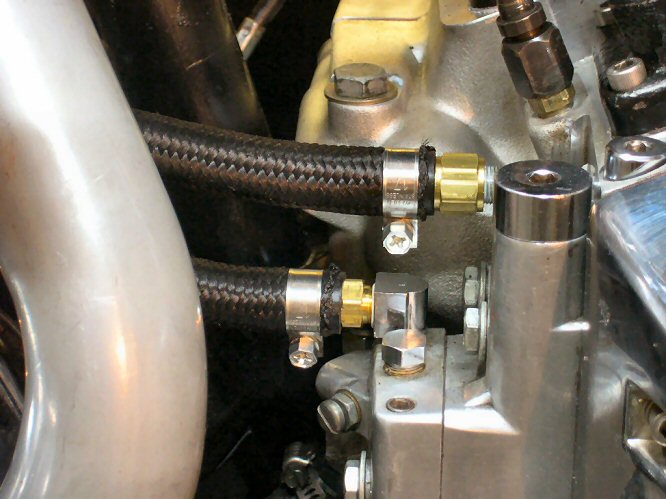
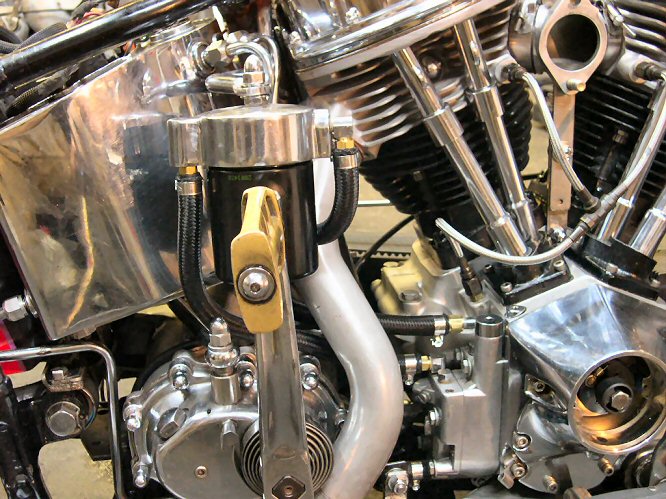
- New oil filter installed. New brass fittings installed. Lines cut to length and installed. Line is high-temp, high-pressure variety with woven abrasion resistant jacket made for oil and fuel.
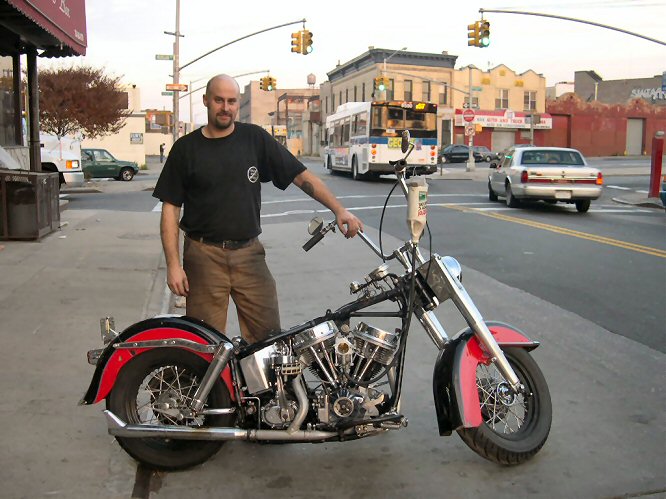
- After a final once-over and checklist review, I hooked up a fuel source (high-dollar variety) and took it outside to start for the first time. It started on the second kick . . . with witnesses. It sure sounded sweet.
- Thermal cycled engine and re-torqued head bolts about four or five times over the course of the evening.
- It scared me how fast the motor seems this time. Looks like it's gonna be plenty of fun once broken in.
Pics:
Valve cover surfaces ground flat
Heads walnut shell blasted
Valve seats lapped
Valve stem oil seals installed
Valves installed
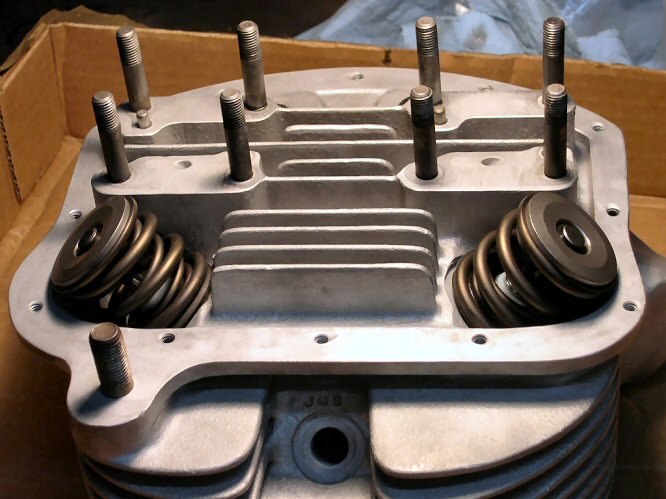
Rocker blocks and arms prepped and installed
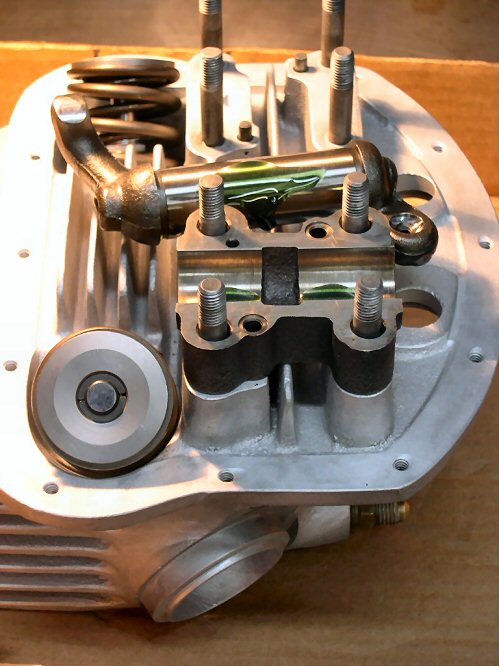
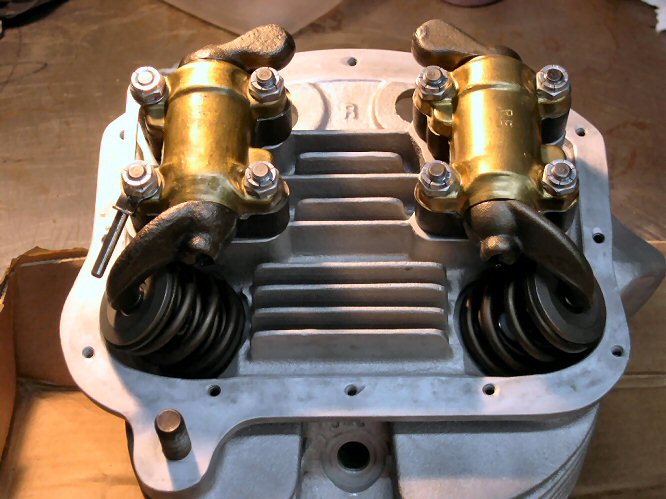
Valves done
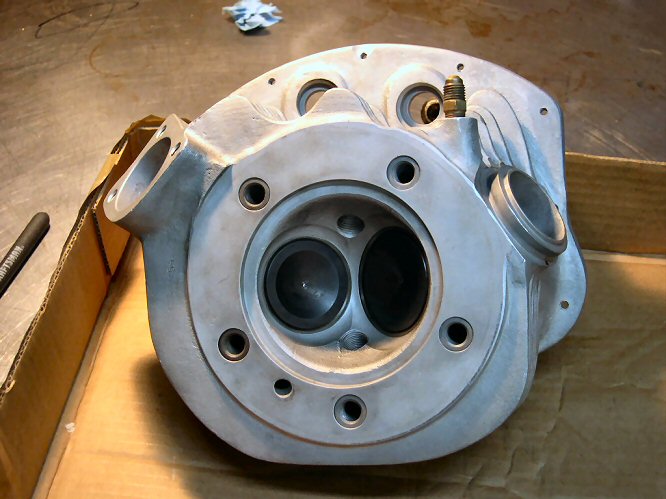
Cylinders and pistons back from Broadway Choppers in Schenectady (thanks Lee!)
Valve pockets smoothed, pistons polished
Piston ring gaps checked
Base gaskets measured
Cleaning cylinders thoroughly before installation
Pistons and clips installed
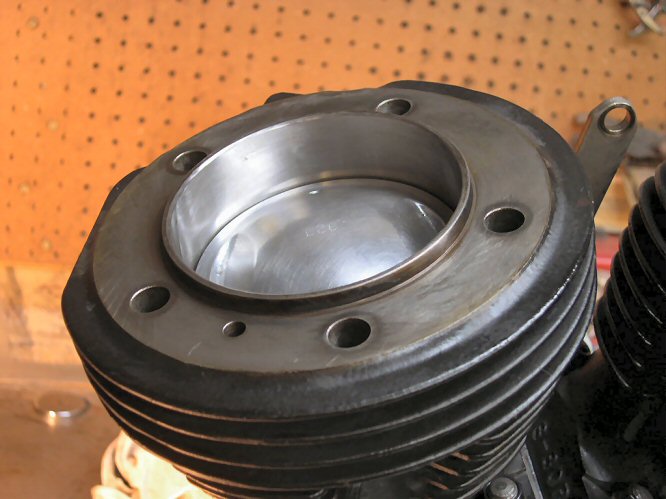
Cylinder installed
Turning base nuts to fit cylinder
Cylinder and base nuts installed and torqued
Lower end back in frame
Measuring front motor mount gap
VERY special top-secret shim stock (.005")
Motor mount shims done
Base nut tool ground to fit
Engine torque plate installed (Fab Kevin makes a nice all-business part for a good price)
Clearance valve cover gaskets for valve top collars
Valve cover studs, gasket, cover, nuts installed
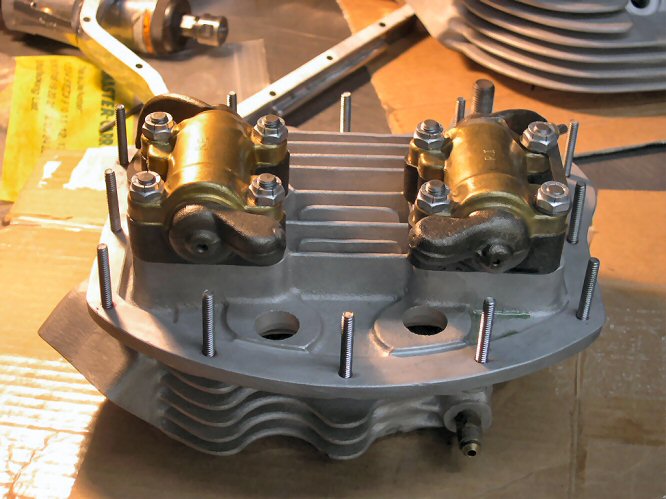
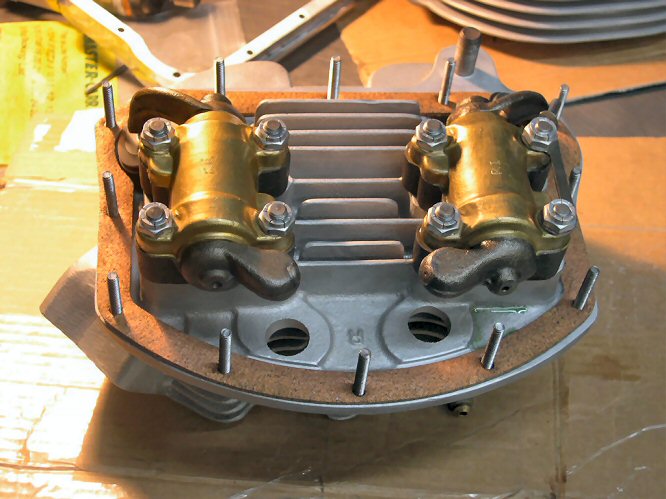
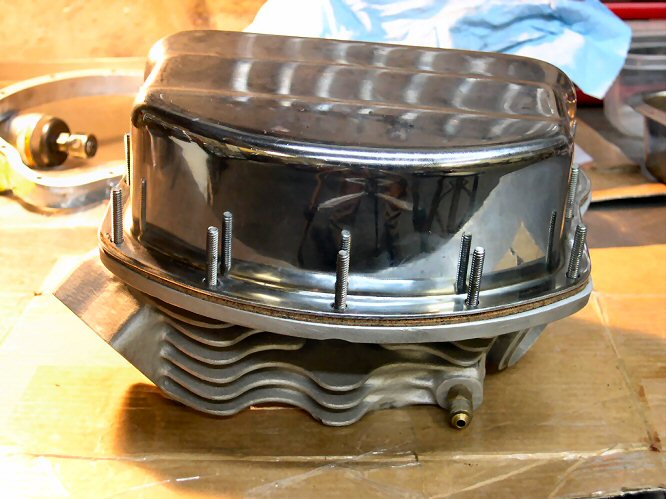
Heads done
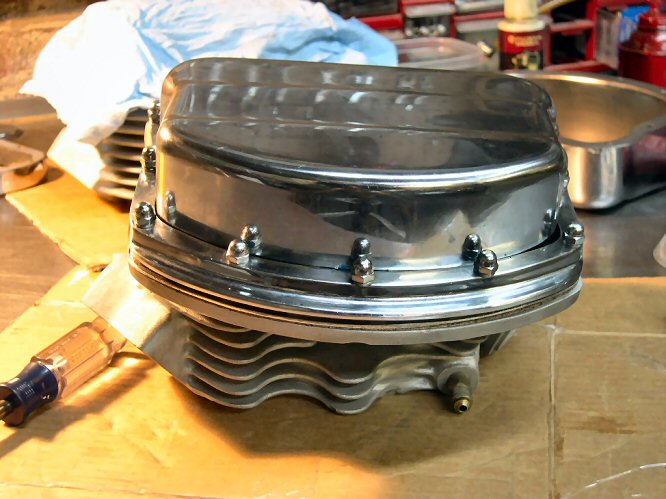
Heads installed
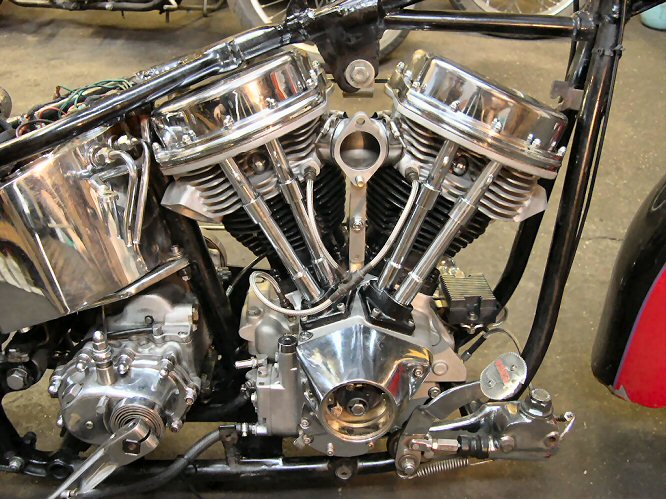
Manifold installed
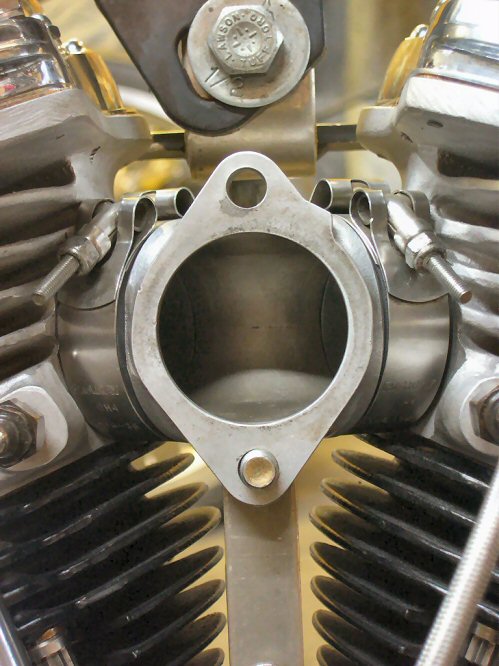
Exhaust installed and sealed
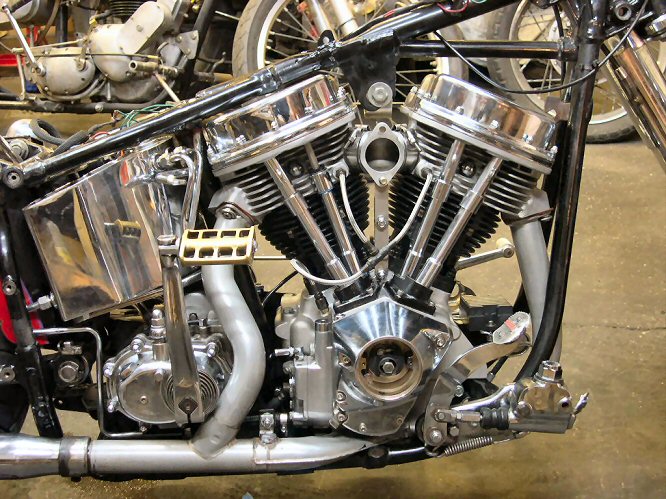
Belt drive and timing pointer installed
Oil lines, fittings, and filter installed
Carb installed
First start!!!!!!!!!!!!
Gas tanks installed
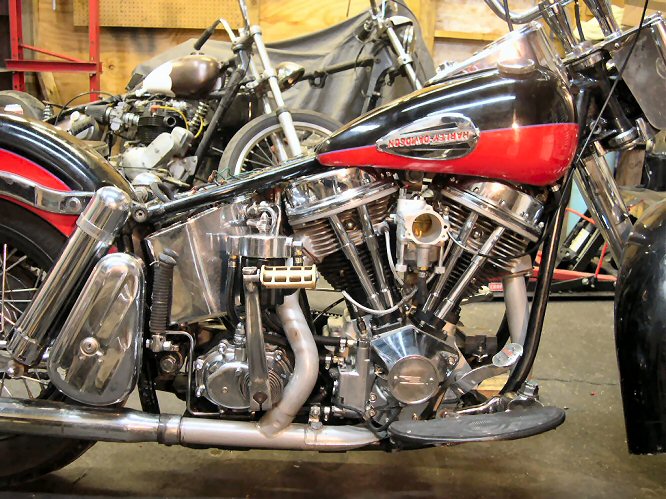
HOME
More tech articles @ www.greasygringo.com


