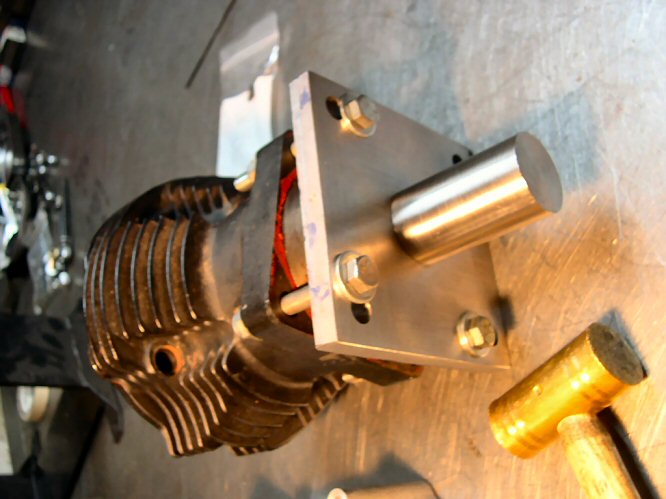
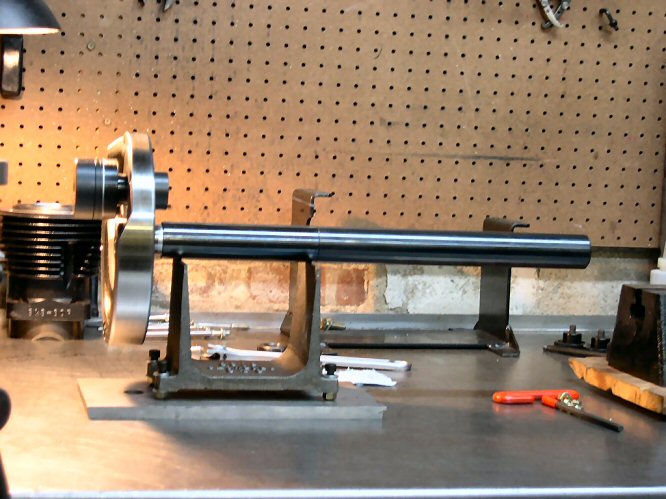
Well, for our last session I had just finished machining my new cases to accept the big bore cylinders and stroker crank. Next order of business was to cut my cylinders down a bit. I wanted to close the gap between the top of the fire ring and the recess in the head to be between .001 and .005 when torqued down with the copper gaskets I was going to use. My lathe has a small precision chuck that was just a tiny bit too small to grip the cylinder where it protrudes below the base gasket surface. So, I made a jig out of some plate steel and some 1020 round stock. You'll notice it has two bolt patterns to accept standard HD jugs and big-bore jugs.
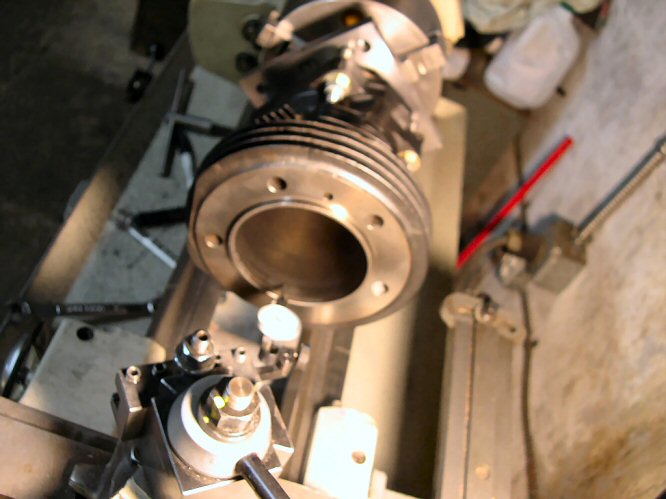
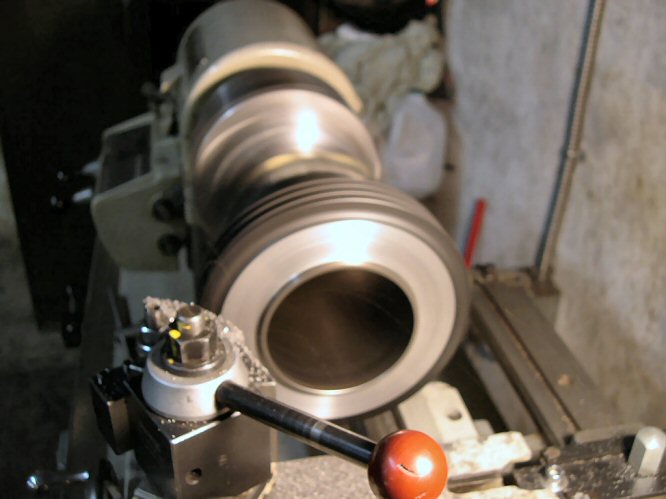
After I got the cylinder located in the lathe, I got to cutting. As I never finished the carriage stop/dial carrier I was working on, I had to resort to a homegrown setup to measure the material removed from the barrel.
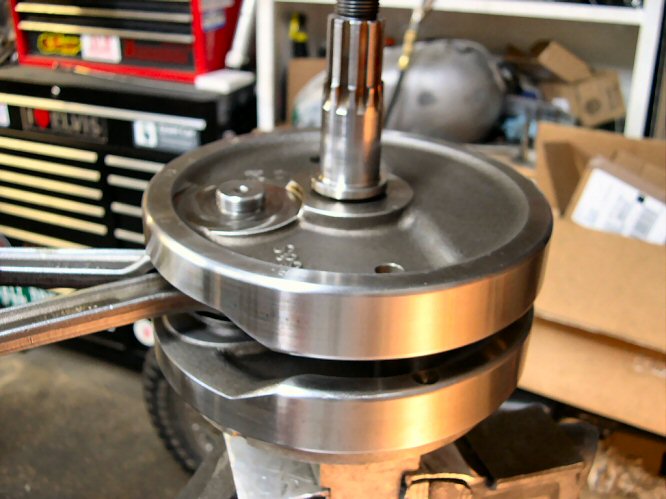
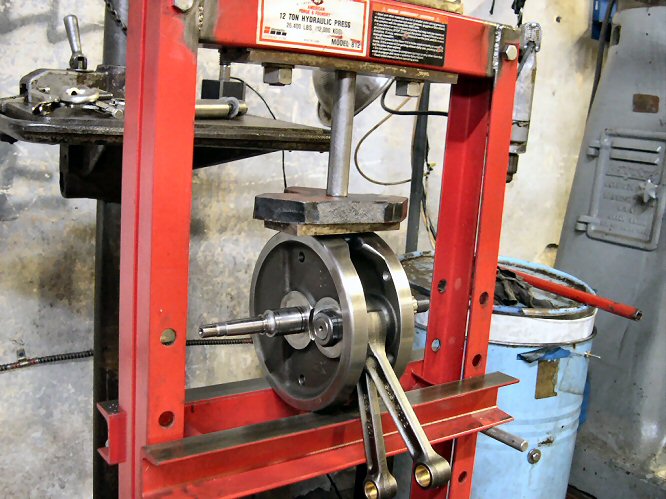
As I may have mentioned before, I left my crank sitting in the truing stand for over a month while waiting for the cases to come in. While I thought that I had been careful not to put anything near it or put it where others in my shop might be curious, they managed to be out of true slightly when I went to put them in. So, I disassembled them and started over. I also decided at that point to go with a 58% balance factor instead of 60% per Dan Rodel. I set about balancing the wheels then began to assemble the crank before truing. I found through trial and error that I could almost eliminate wheel shifts while torquing the crank pin nuts by placing the flywheels in the press while tightening.
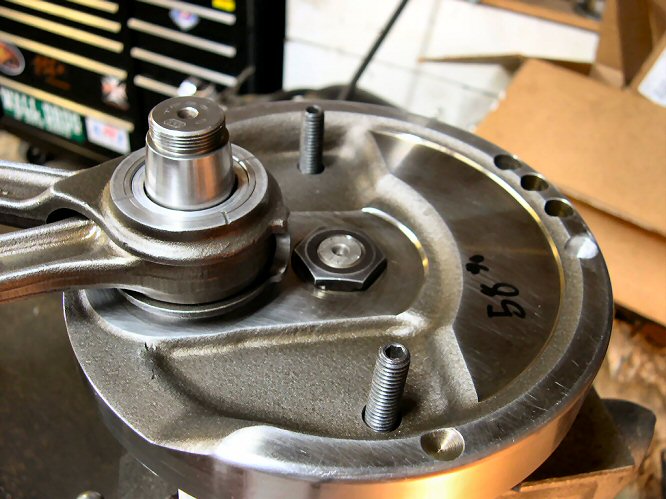
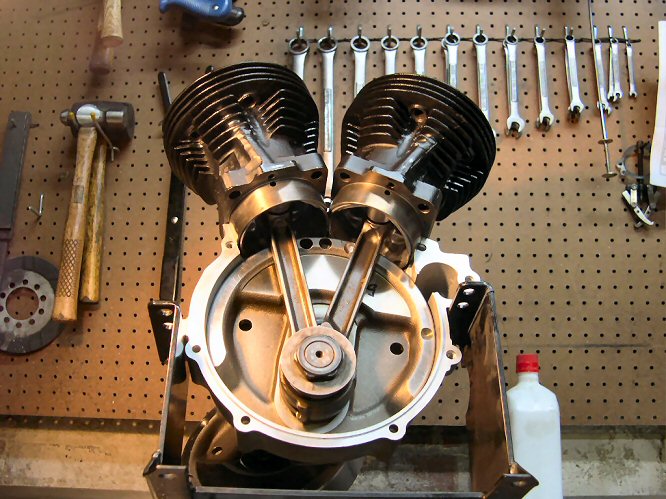
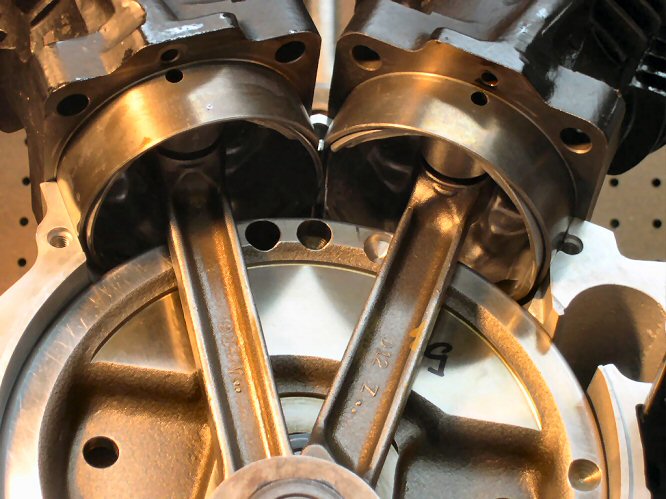
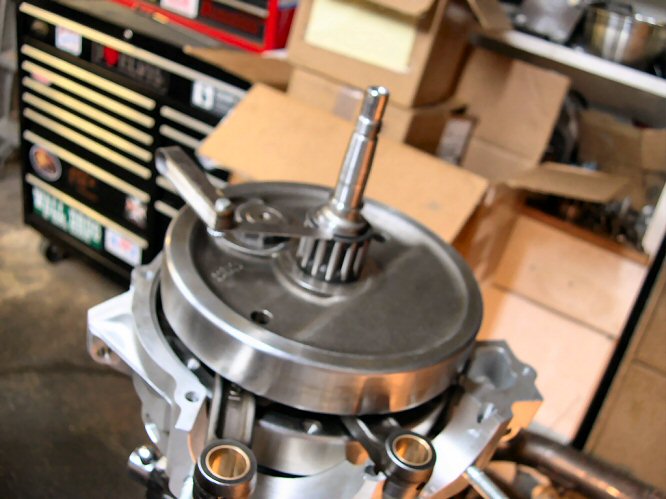
Once assembled and trued to my linking (less than .0005 runout on shafts), I loaded the wheels into the case so I could check the rod-to-case, rod-to-rod, and skirt-to-skirt clearances.
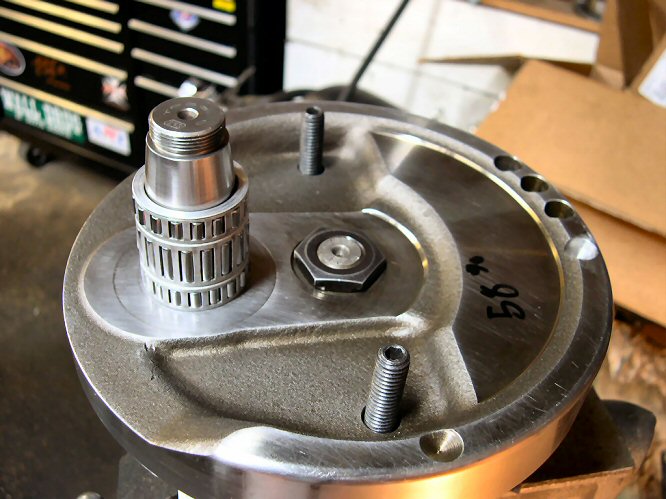
I forgot to mention that I was going to use an 87 and up style pinion shaft bearing since my replacement cases came with the late-style race with four oiling holes. I had to make a thrust washer to center the bearing in the race properly with the correct end-play. Since I have no surface grinder, I made an arbor/jig to hold the washer while I ground it by hand.
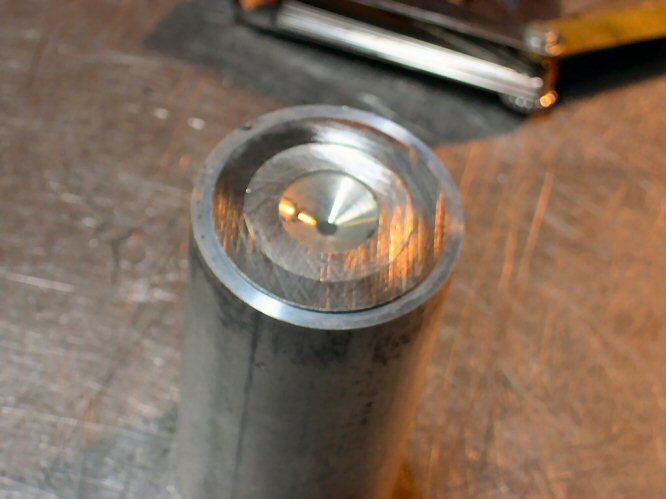
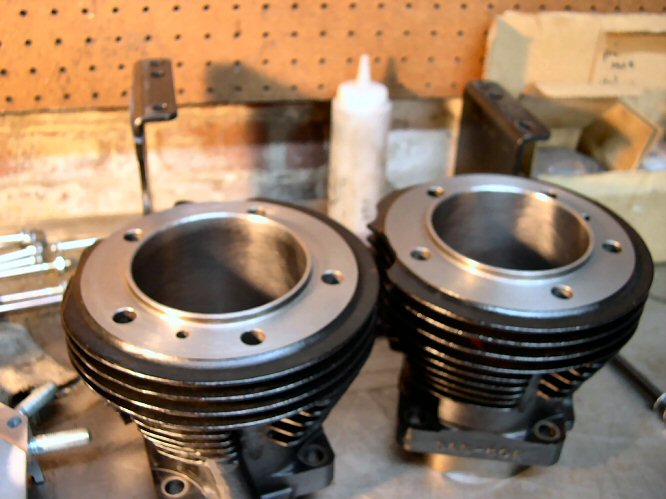
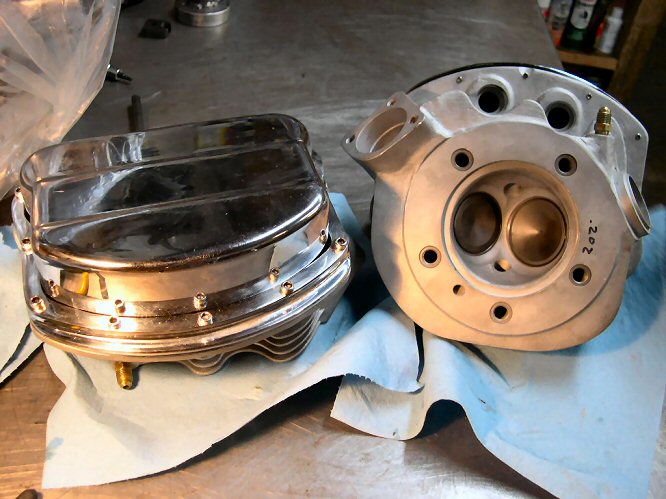
The next order of business was to double check to see that I had the proper piston deck clearance and piston to head clearance since I shortened my cylinders. Damned! Turns out that I would only have had .038 piston deck to head clearance using the .020 base gaskets I planned to use. I inquired of the experts (Buck, being one of them - thanks!) who told me that this was NFG and that I'd best get at least .050. I ended up using two .018 base gaskets on each cylinder to get me to .054. At least I'd still realize some benefit from having the fire ring to head gap closer. Sorry about the crappy photo.
During the next phases, where I setup new timing cover bushings and align-reamed them, I didn't have my camera around so no photos. I drilled the taper pins out on the mill and pressed the old ones out. I installed new bushings, drilled new locating pin holes, and made pins out of a piece of welding rod. After installing the pins, I peened the bushing over the pin slightly, as well as used sleeve retainer to hold them in place. I broke down and bought the JIMS tools to ream both bushings using the right case as a pilot. I don't think there was any way around it. The next step was to install the correct size pinion and cam gear. Luckily, I have a box of about ten or twelve cam gears. I also had new white and yellow pinion gears. I ended up using the yellow pinion gear and the smallest cam gear in the box to give me a no-drag fit. I setup the breather gear and cam end-play and buttoned up the timing cover.
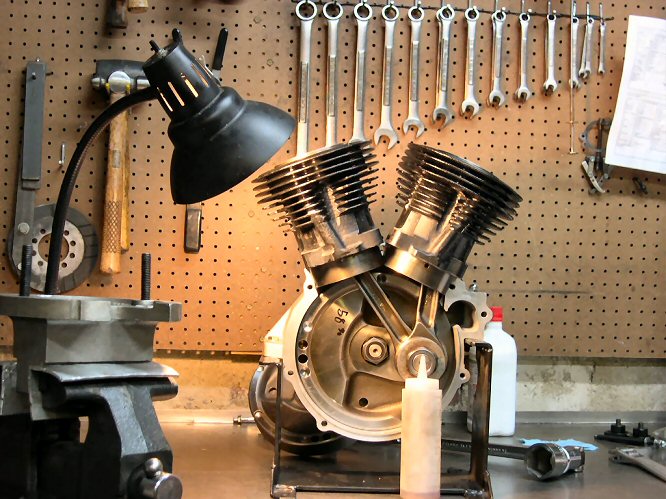
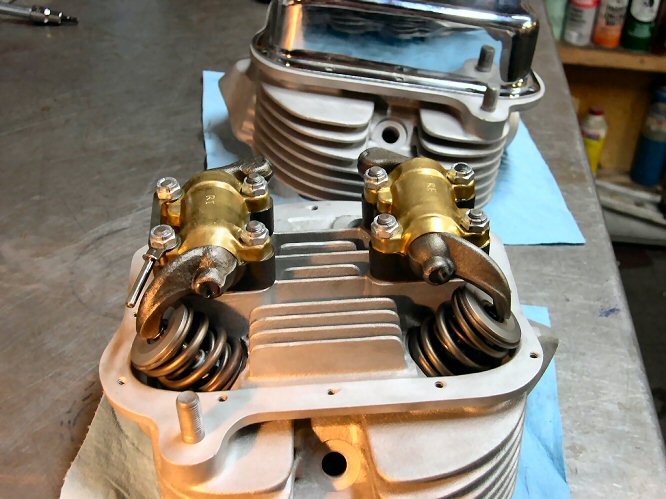
Next up was to build up the heads with the rockers and rocker covers.
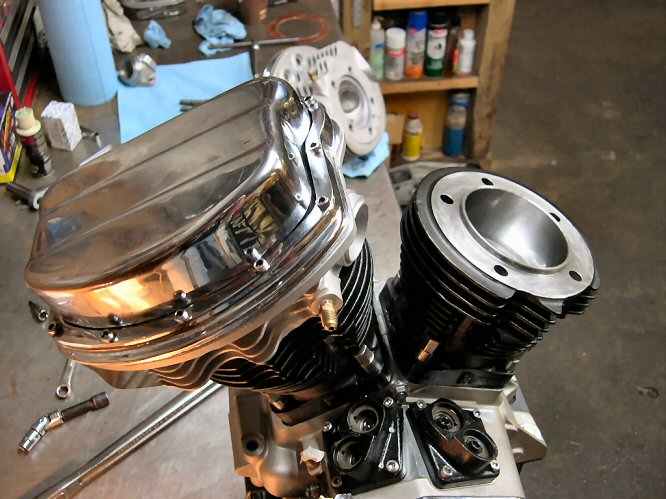
Almost home! I finally was ready to finish the motor. I bolted and torqued the heads (I had left the base nuts loose) and installed the manifold so that I could get the cylinders positioned correctly before tightening the base nuts. After tightening everthing up with the torque wrench, it was time to call it a day (two or three actually).
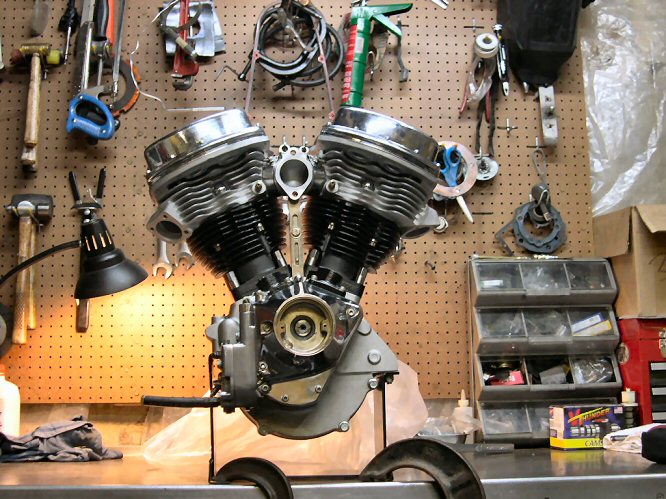
The motor has been treating me well. I have another installment coming (next time I'm procrastinating) covering installing the motor and drivetrain.
cheers,
jason
More tech articles @ www.greasygringo.com